Use the Select element to generate a picklist within Omniscript
Here I’ll show you one by one step.
In Omniscript, the Select element provides the capability to create a picklist or dropdown list where you can choose a single option from a list of choices.
There are three methods available to configure the options for the Select dropdown:
-
- Manual: This involves manually inputting the options as label/value pairs.
- SObject: This method retrieves the options from a specific Salesforce object and field.
- Custom: Here, the options are obtained from an Apex controller.
This blog primarily focuses on explaining the first two methods in detail.
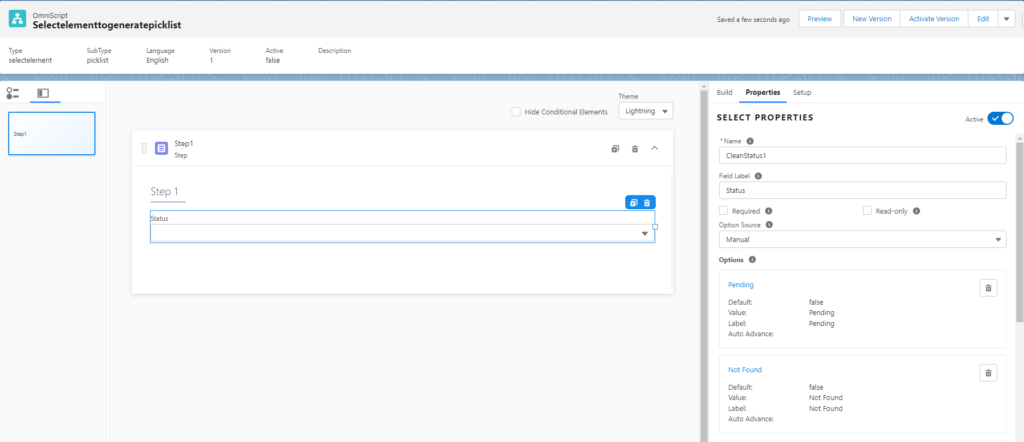
To manually input the options:
-
- Drag and drop a Select element onto a Step in Omniscript.
- Choose “Manual” as the Option Source.
- Click on “+ Add New Option” to add the options using a label-value pair.
- While adding the dropdown values, you have the following options:
-
- Select “Use as Default” to make an option pre-selected by default.
- Select “Auto Advance” to automatically proceed to the next step when this option is clicked.
-

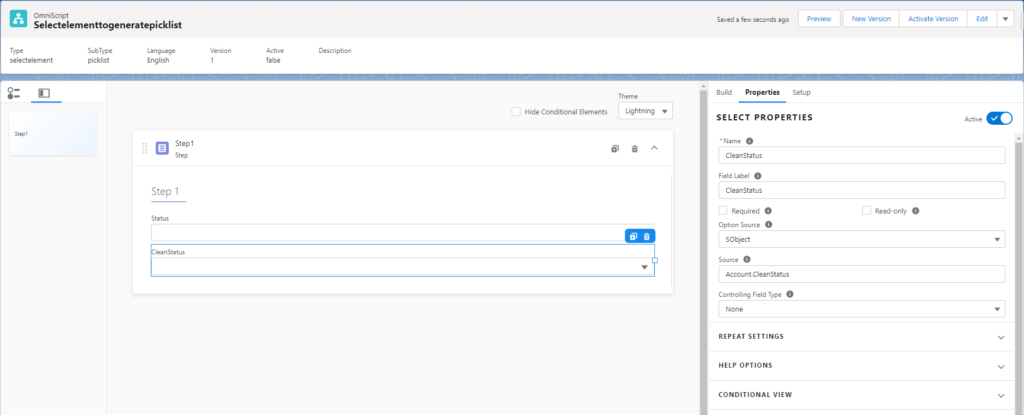
To retrieve options from a Salesforce object and field:
-
- Choose “SObject” as the Option Source.
- In the Source field, enter the object and field names in the format “Object.field”. For instance, “Account.CleanStatus” would represent the Status field in the Account object.

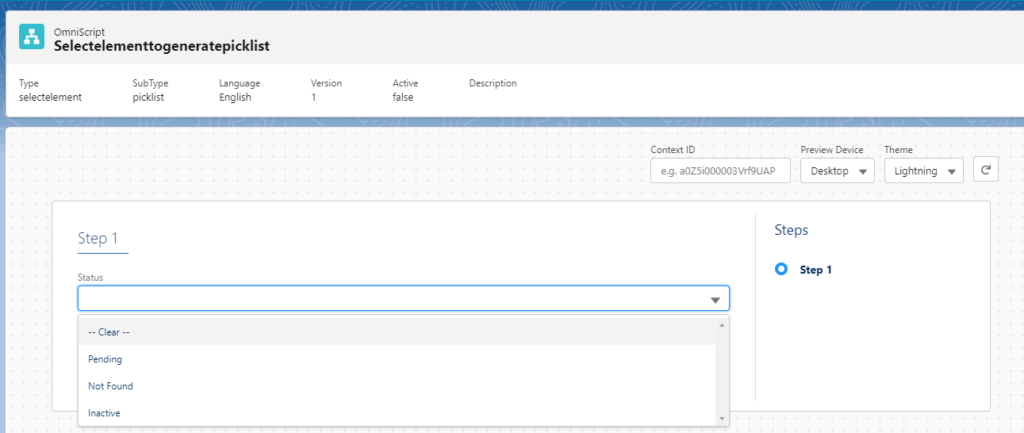
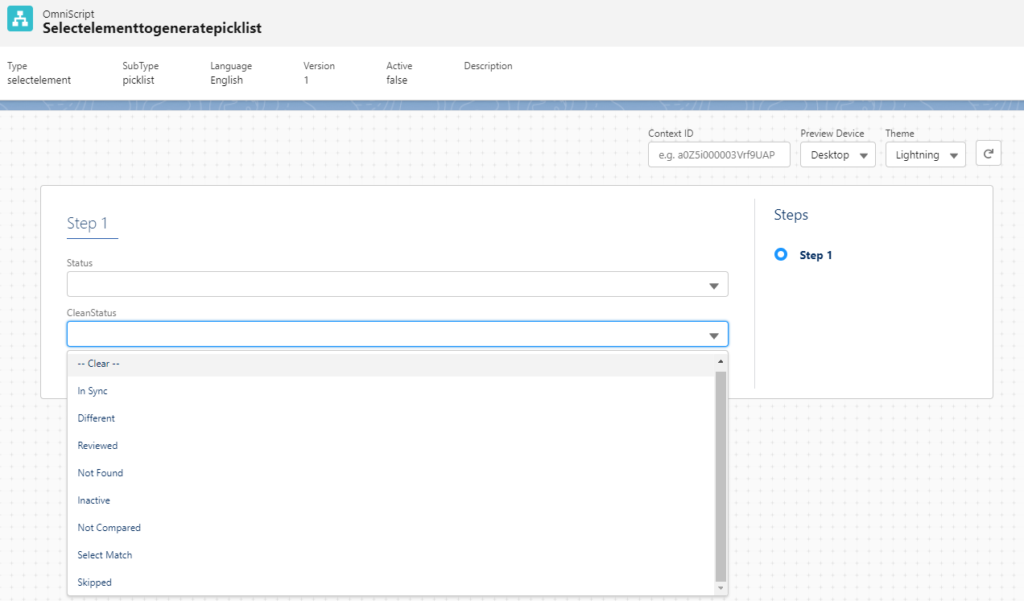
Here is a both Preview.


Thank you!! I hope this information is helpful for you.


