Using email templates is a great way to enhance organizational productivity and maintain email communication. Administrators can streamline their workflow by using these templates, ensuring a consistent format for emails sent by you or other Salesforce users within your organization.
A Salesforce Email template serves as a pre-established email format that enables you to efficiently compose and dispatch prompt emails. These templates, complete with merge fields, empower you to swiftly send emails containing specific data from Salesforce records such as Contacts, Leads, Opportunities, or Custom Objects. To further enhance productivity and bolster your organization’s branding, you even have the option to incorporate your letterhead into the email template.
The email template comes in handy whether you’re looking to send messages to groups of people using mass email or when you simply need to send an email to an individual recipient.
To compose an email, you simply need to choose the appropriate email template. If the selected template includes attached files, ensure you have access to them in order to include these files when sending emails from that particular template.
There are three methods to create a Salesforce email template, and they are as follows:
- Classic Email Templates
- Email Template Builder
- Lightning Email Templates
Lightning email templates represent an upgraded version of email templates. These templates utilize the Handlebars Merge Language for merging fields, offering greater flexibility compared to SML. It’s worth noting that Salesforce email templates cannot be used within the Salesforce Mobile App.
Based on the information provided earlier, you likely have a better understanding of email templates. Now, let’s delve into the steps involved in creating a Lightning Email template within Salesforce.
Creating a Lightning Email Template in Salesforce – Step-by-Step Guide
Step 1: Start by accessing the App Launcher and searching for “Email Template.”
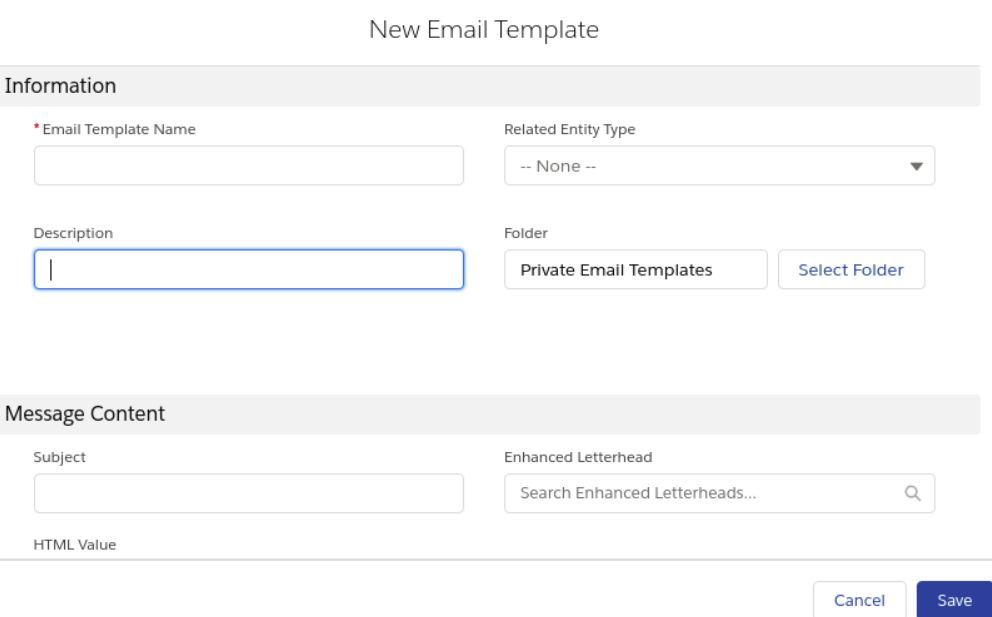
Step 2: Once found, click on “New Email Template.”
Step 3: Provide the desired Email Template Name and its corresponding Description.
Step 4: Choose an item from the dropdown list in the Related Entity Type.
Step 5: Use the search box to locate the Enhanced Letterheads option.
Step 6: Save your progress by clicking the “Save” button.
Step 7: In the HTML Value field, compose the email content that you intend to use as your template.
Step 8: Utilize the Merge picker to insert the necessary merge fields.
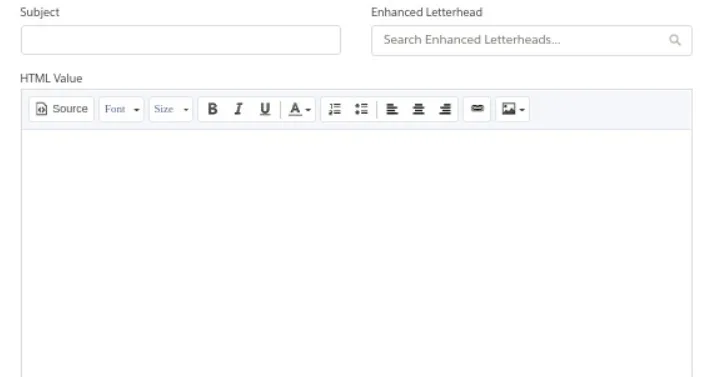
Step 9: To include HTML code, click on the Source icon.
Step 10: Use the attachment option to add any necessary attachments to your template.
Step 11: Finally, click the “Save” button to complete the process.
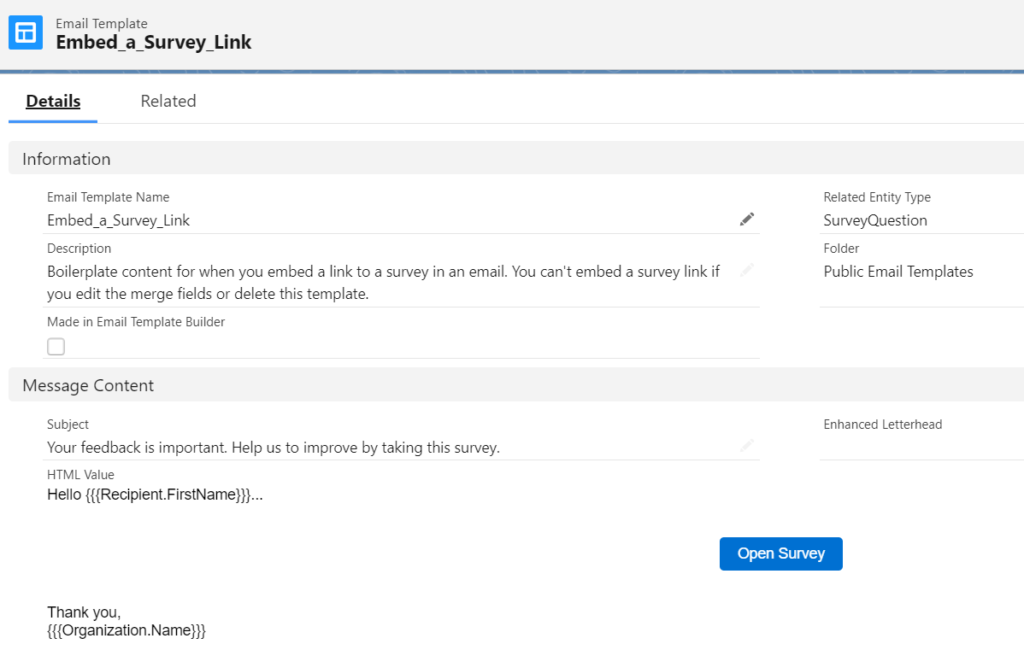
With these steps, you’ve gained an understanding of how to create a Lightning Email Template.